Top ten recommendations for planning a successful Virginia Wine Tour
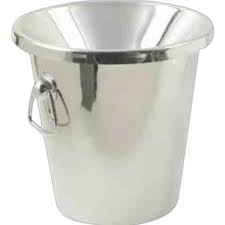
1. Don’t let the fancy jargon and spit bucket intimidate you when on your Virginia Wine Tour. Wine makers and for the most part anyone who works at a winery does so because they are passionate about wine. They love to talk about how wine is made, in particularly how their wine is made and the just about anything to do with the wine business.
2. Of course timing your Virginia Wine tour is important. During a busy weekend tasting rooms will be crowded and the pourers may not be able to spend as much time talking shop. If possible schedule your tour during the week, when the winery staff will have more time to spend with each customer. If you are heading out on your Virginia Wine Tour on the weekends, get an early start at the larger facilities you plan on visiting.
3. Plan your route and confirm the wineries you would like to visit are open the day you plan on visiting. If possible arrange for a designated driver for your Virginia Wine Tour.
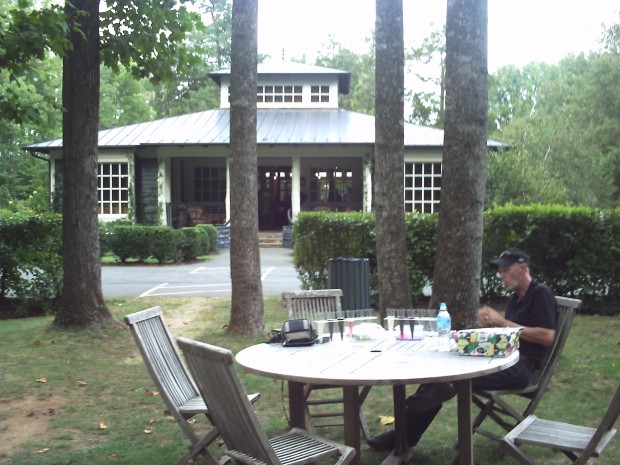
4. On the day of your tour. Leave the perfume and cigars at home, you don’t want the smell of your favorite fragrance or a cigar interfering with your ability to taste the wines. Make sure you have a picnic lunch and pleanty of water. It is important to stay fed and hydrated while tasting wine.
5. Take Notes. Although it is certainly optional, most wine tastings involve taking notes at each step. Otherwise, by the time you’ve tried two or more wines, you will probably confuse which impressions went with what wine! Most wineries have a tasting sheet with the winemakers notes. This is a great place to start, although I like to make my own appraisal prior to reading the description. I don’t want to be influences by the flowery descriptions. Using the WineEvaluationChart may help to get you started.
6. Look at the wine.
a. Hold the glass by its stem and take a look at the wine’s thickness (called “viscosity”).
b. Swirl it in the glass to see how it clings to the sides (called “legs” or “tears”). The thicker or longer the legs, the richer and denser a wine will be.
c. Inspect the edge of the wine where it meets the glass. This is called the wine’s “meniscus”. Generally speaking, the darker the meniscus, the more full-bodied a wine is expected to be.
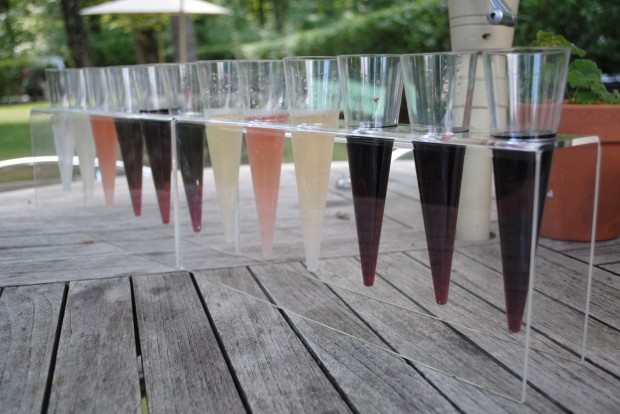
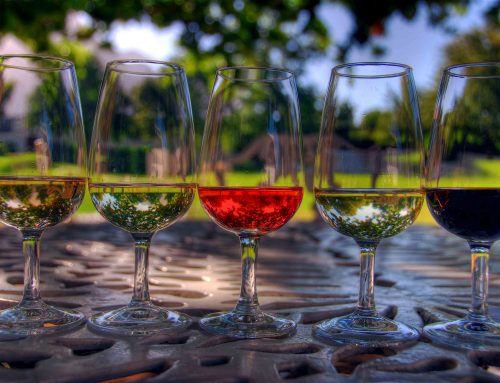
d. Inspect the color to determine the wine’s age: in white wines, the hue actually darkens with age while in reds, they often lighten.
e. Inspect the color in terms of the type of grape: in red wines, a deep, rich red is often seen in a Cabernet Sauvignon while an even darker, almost purply hue can be noticed in lots of Shiraz. A Pinot Noir is usually a brighter, red color and not as thick. In white wines, a Sauvignon Blanc tends to be almost clear with a slightly greenish hue and Chardonnays often have a golden cast. Noting the color and variations in color between a wine of the same grape from another can be quite interesting.
7. Swirl and Smell the wine. To do a “proper” wine tasting, it is said that you must swirl the wine in the glass (pretend like you’re making a mini tornado in the bowl of the glass). By swirling the wine in this manner, you expose more of the liquid to air, thereby releasing more of the wine’s aroma. Then take a deep long sniff. Really smell it trying to pick up the subtle and sometime not so suttle fragrances. For information on specific aromas frequently found in wine, The Wine Wheel.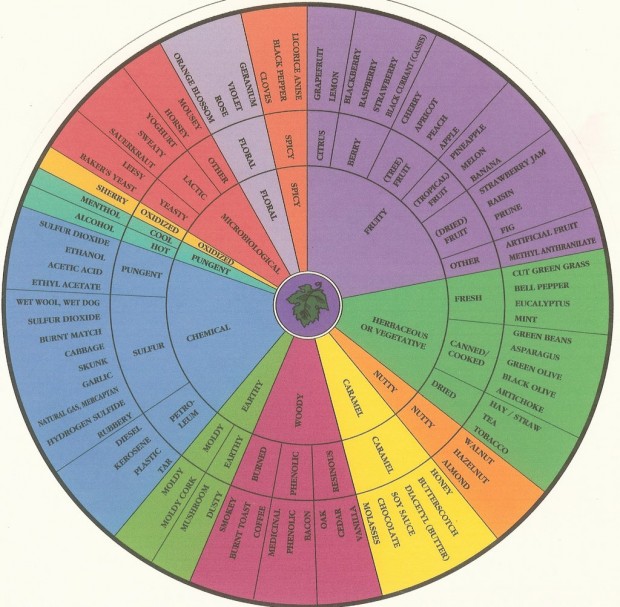
8. Taste the wine. At last, the best part! So, how do you properly taste the wine? Still holding the glass by the stem, you take a small sip. Let the wine roll back on your tongue and linger in your mouth. For lack of a better phrase, I recommend that you almost chew the wine, letting its flavors hit against the different areas of your tongue. The first sip is the most important as your taste buds notice the flavors more. After the first sip, your tongue becomes accustomed to the wine and you will not be able to pick out its characteristics as well.
9. At this point, you’ll hear comments involving “palate” or “mouthfeel” -both of which refer to the weight, texture and flavor of the wine in your mouth. When discussing the palate or the mouthfeel, the full gamut of metaphors–from fruit, vegetable, mineral, gaseous, and chemical flavors (real, imagined or just plain staged) to personality types–are utilized. Descriptions of the wine’s acidity and tannin levels are also noted here as both of these elements dramatically affect the wine’s weight and structure and character.
10. Swallow or Spit out the wine. I prefer to actually swallow the wine at a tasting. If I am tasting more than two or three wines, I just make sure I don’t take more than two sips from each of the samplings. That said, if you are visiting several wineries on your tour you may want to try the spitting method for obvious reasons. Don’t worry: if you are at a wine tasting, there should be a glass or other receptacle available to you to discreetly spit your wine into.
11. Note the finish Whichever method you choose, make sure to note the lingering flavor of the wine in your mouth after you’ve disposed of it. This is called the wine’s “finish” and the general rule is, the longer the finish, the higher quality of wine. That said, I’ve had some lousy wine that seemed to linger for hours, so, I’m not so sure if I buy into this philosophy!
12. Cleanse the palate. Most tastings will supply you with crackers or other palate-cleansing substances to clear the mouth and prepare it for the next sampling. There are lots of opinions out there on the best “cleansing” substance to use, but if nothing else, I recommend at least taking a sip of water and cleaning your mouth with it before moving on to the next wine. Otherwise, the finish from your prior wine will interfere with your ability to sample the next. Don’t forget to make your notes now, befor you move on to your next taste.
